Just to give you a flavor of how the new system works, consider this notepad example of the final steps to performing a scrolling capture.
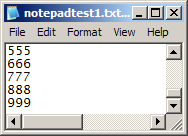
We start with a small notepad window as an example:

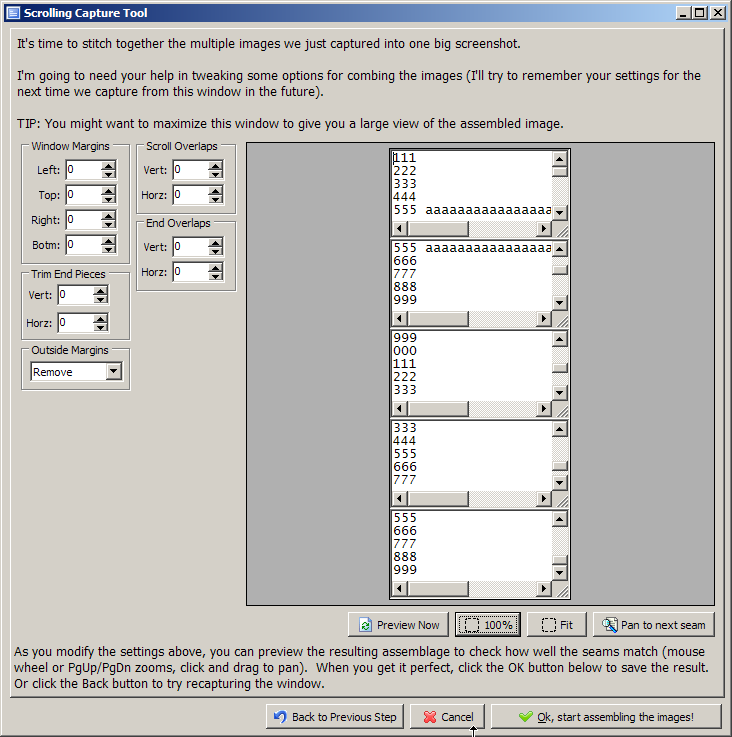
After telling the tool what object to capture, and how to automatically scroll it horizontally and vertically, you get something like this:

Note that in this first stage, the tool does not worry about capturing the scrollbars; for other applications (like explorer windows, etc.) you might also get the HEADER row captured in each scroll image.
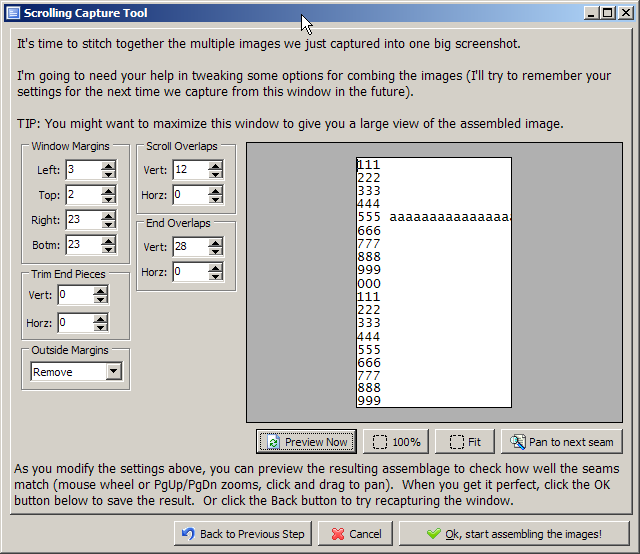
Then in step 2, you can tweak the way the final image is assembled out of the multiple images -- this is similar to stitching together camera panoramas. Basically you trim out some extra margins, and configure the overlaps that happen during scrolling, etc:

Although this requires some manual help from the user -- I think it offers the best chance at getting the scrolling capture "perfect", and can handle odd scenarios that foul up the more automatic one step scrolling capture feature found in other tools.
What remains to be seen is how good a job i can do later at guessing some good default values given an image, to avoid making the user do too much hand tweaking with every scrolling capture.
Perhaps the major advantage to this new multi-step interactive process is that it should work reasonably well and be quite robust in handling unusual and tricky scrolling window captures that confuse other algorithms. It may require a little more work, but when you really need to perform a scrolling capture on a tricky window, it should survive where other tools/approaches choke.
